
Creating, Editing, and Deleting Employees

Creating a new Employee

  1. Navigate to Human Resources > Employees

A screenshot that depicts the Employee menu location. The screenshot is annotated with two red boxes to show that the user must click on "Human Resources" and then "Employees"

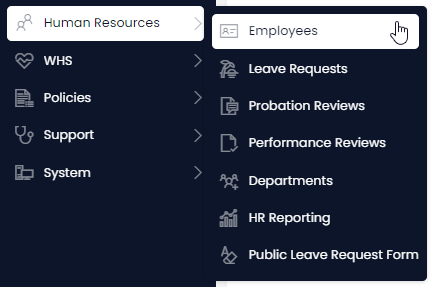
  1. Click on New Employee

A screenshot that depicts the user clicking on the "Create New Employee" button. The screenshot is annotated with a red box to show the location of this button.

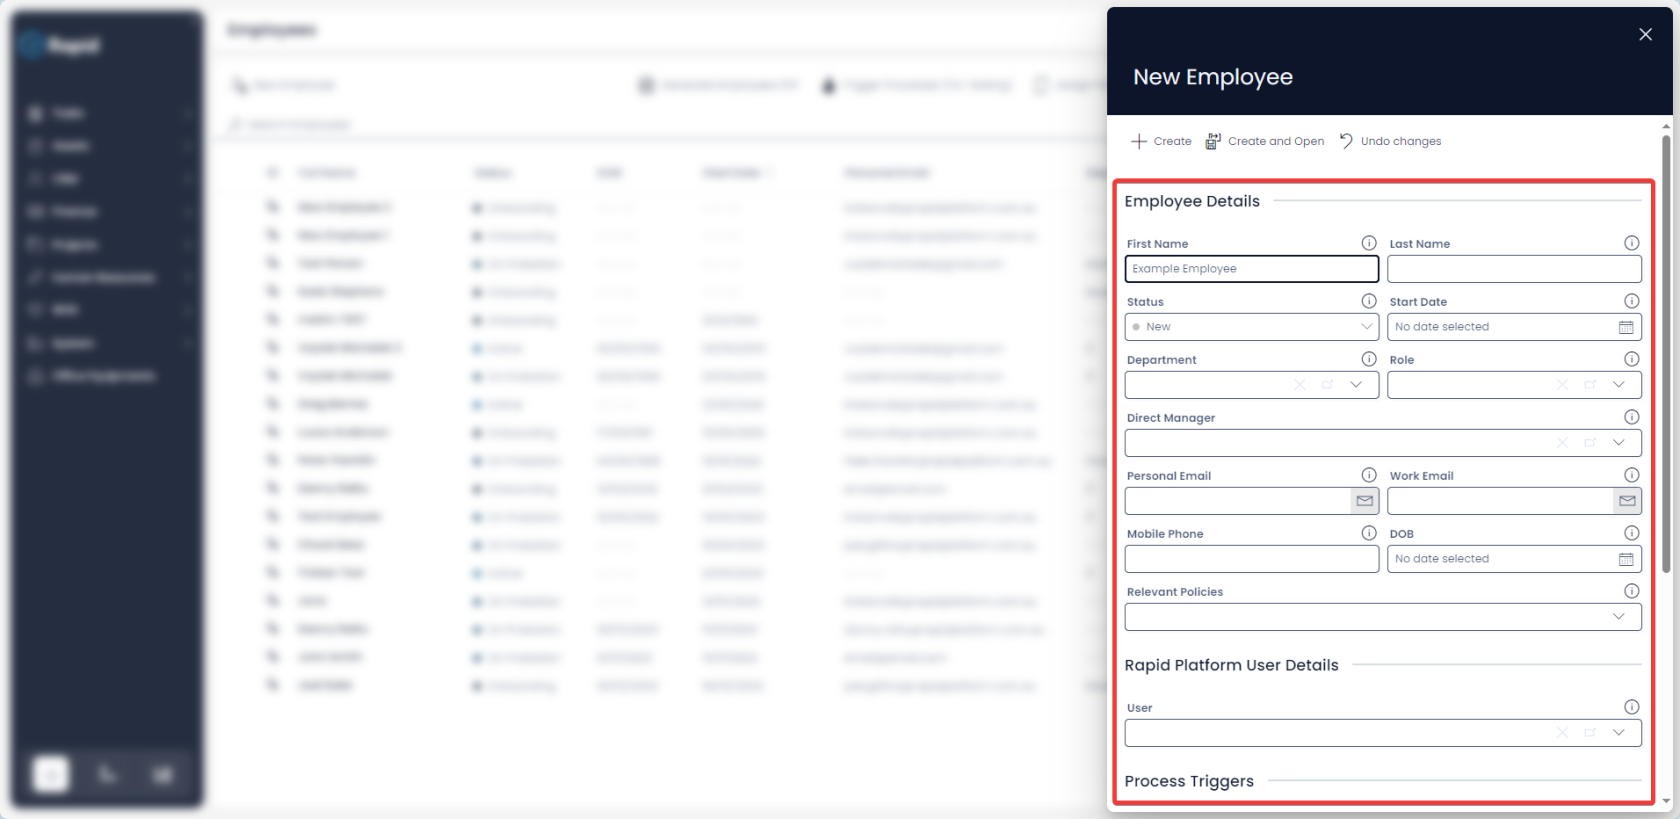
  1. Enter all relevant details:
    • For correct task assignment across modules, ensure that each employee is correctly linked to a Principal using the lookup field.
    • For probation review processes to work, the Email, First name, and Last name must be filled.
    • For work anniversary reminders, ensure the Start Date is filled.
    • For birthday reminders, ensure the DOB field is filled.
    • The onboarding process, by default, will be triggered upon creation of an employee. However, this can be turned off by switching the Trigger Onboarding Process toggle to "No".
    • For a Policy Acknowledgment task to be assigned to the employee through the onboarding process, you must also select the relevant policies.
    • The probation process, by default, will be will not be triggered on creation of an employee. However, this can be turned on by switching the Trigger Probation Review Process toggle to "Yes".
    • To disable Birthday or Work anniversary reminder emails, these toggles must be set to "No".

A screenshot that depicts the "New employee creation form". The screenshot is annotated with a red box to show where the user can enter new data.

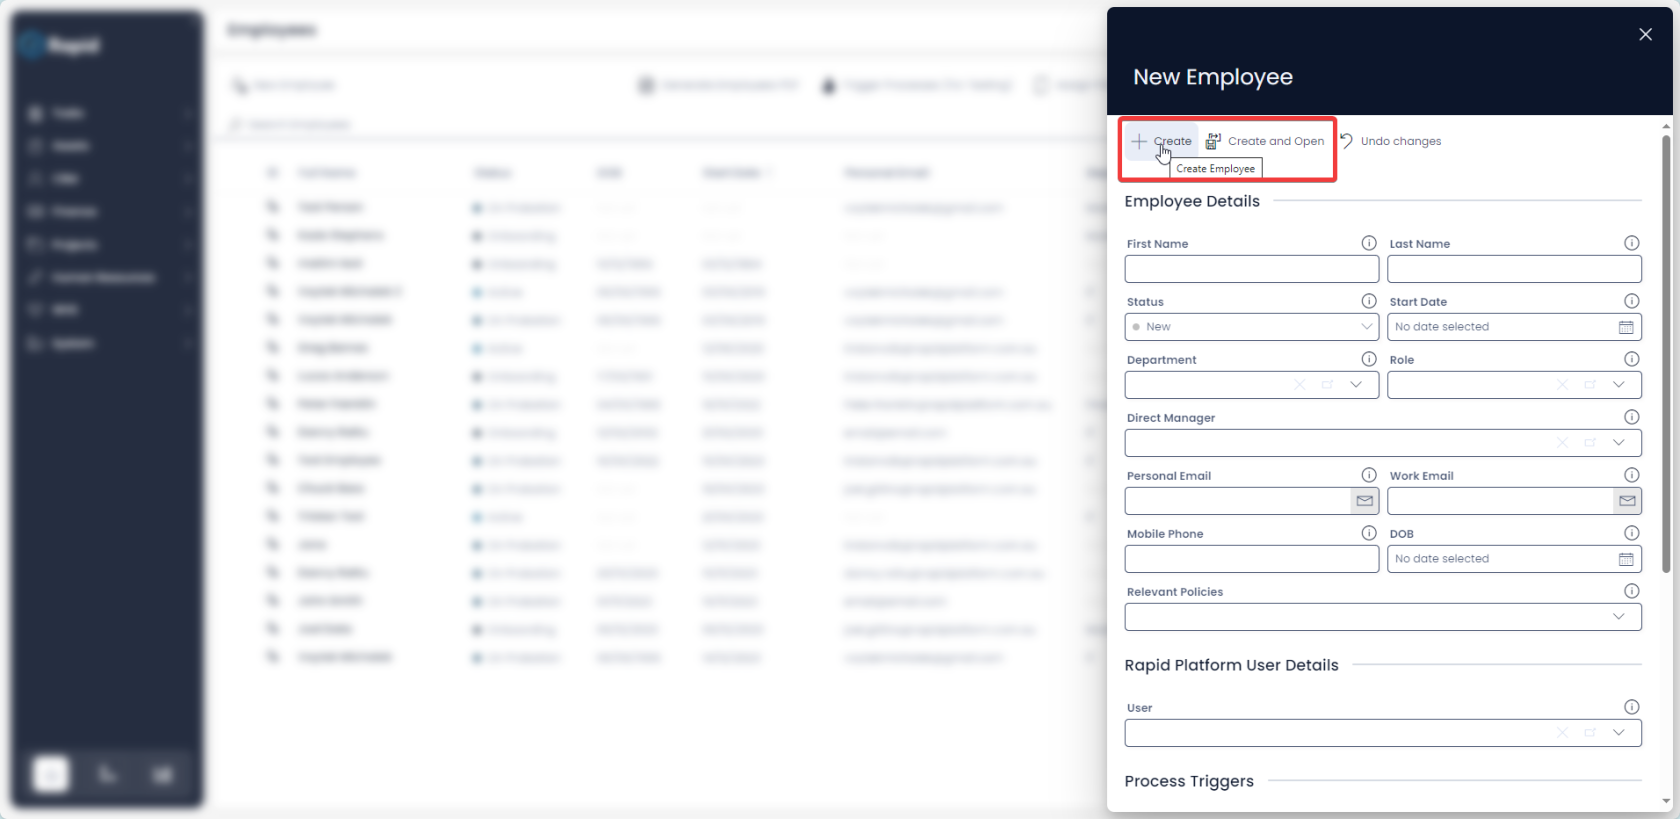
  1. Click on Create or Create and Open

A screenshot that depicts the "create" and "create and open" buttons at the top of the "new employee creation form" side panel.

Editing an Employee item

  1. Navigate to Human Resources > Employees

A screenshot that depicts the Employee menu location. The screenshot is annotated with two red boxes to show that the user must click on "Human Resources" and then "Employees"

  1. Open the desired employee item. (Find the employee item by either scrolling through the list or using the search bar).

A screenshot that depicts how to find a specific employee using the search bar at the top of the employee table.

  1. Edit fields as required. There are additional fields on the Additional Details tab that you can also edit.

A screenshot that depicts how to open the "Additional Details" tab at the top of an employee item. The screenshot is annotated with two red boxes. The upper red box indicates where to find the "Additional details", whereas the lower red box indicates all of the fields that will appear when this tab is opened.

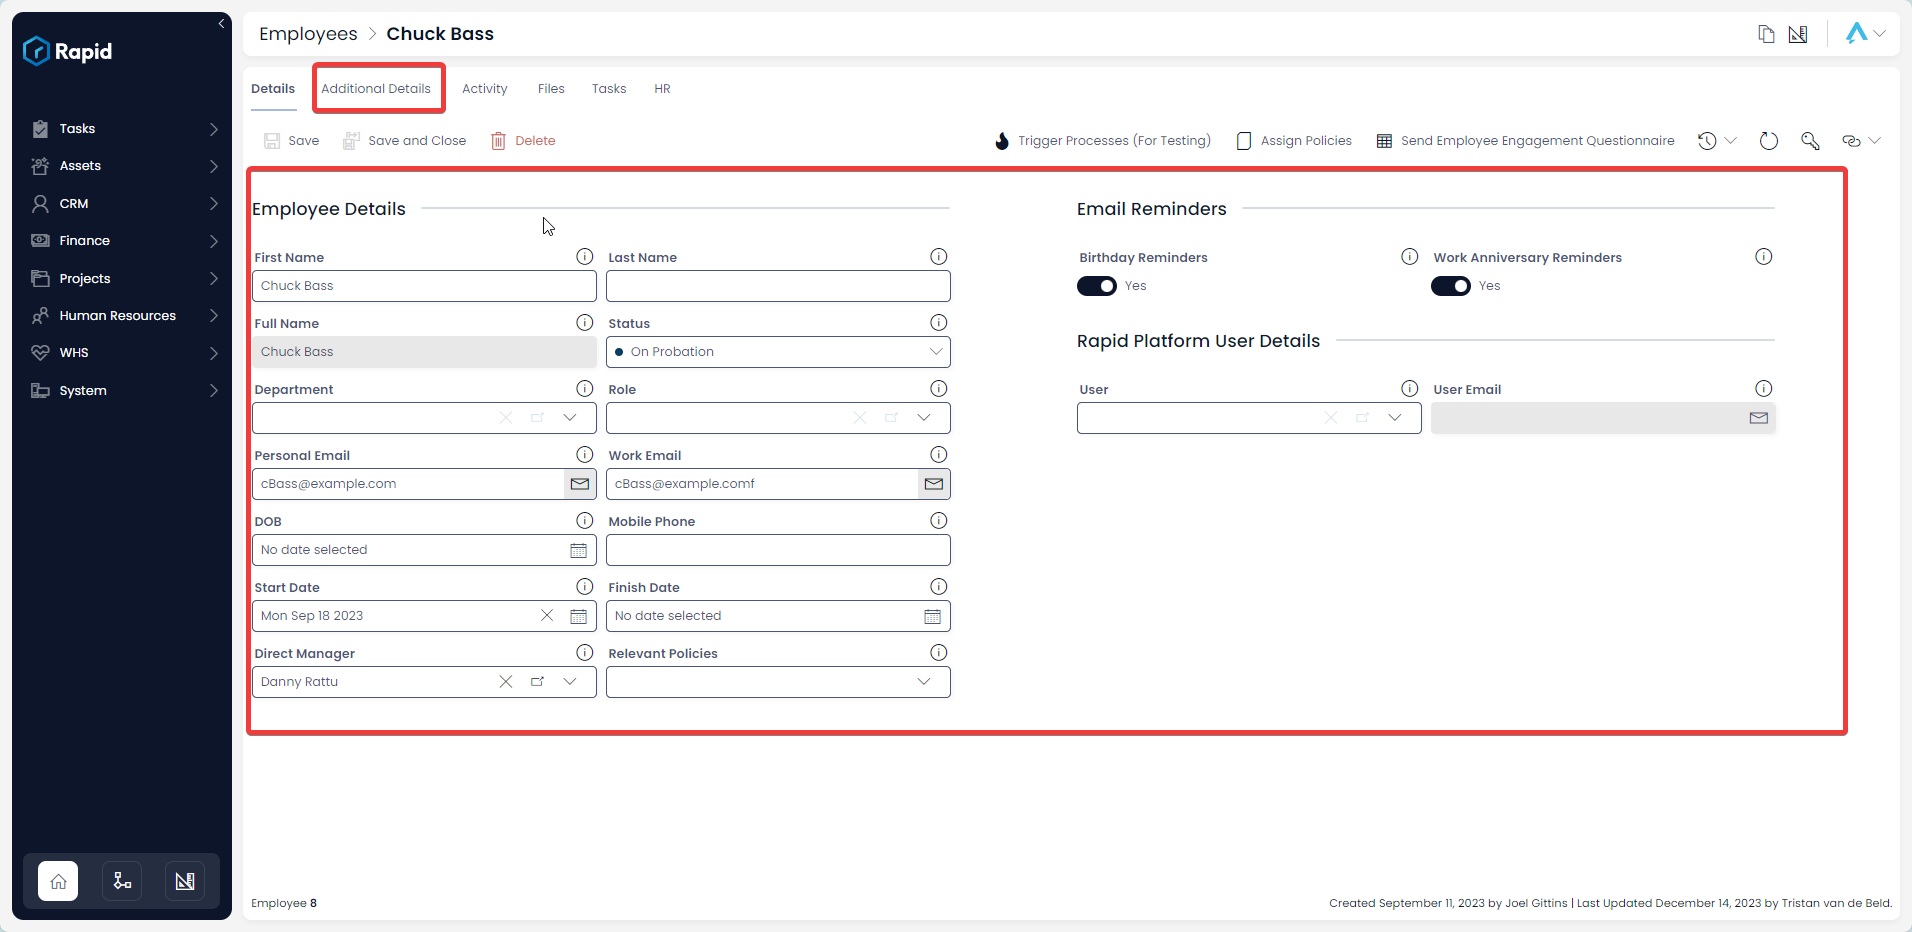
  1. Press Save or Save and Close

A screenshot that depicts how to "save", or "save and close" an employee item.

Deleting Employee Records

It is not recommended to delete an employee. Instead, change its status to "Archived." This allows you to maintain a record of past and current employees.

However, if you need to delete an employee due to incorrect data entry or a duplicate entry, you can do so in two ways: from the list or from the item page. Deleting from the list allows you to delete multiple employees at once.

Deleting Multiple Employees from the List Page

  1. Navigate to Human Resources > Employees

A screenshot that depicts the Employee menu location. The screenshot is annotated with two red boxes to show that the user must click on "Human Resources" and then "Employees"

  1. Select the employees you wish to delete

A screenshot that depicts how to select multiple employees

  1. Press the Delete X Employees button

A screenshot that depicts how to delete selected employees. The check buttons on the left-hand side of each item can be pressed, and this will select an item. The screenshot is annotated with a red box, which reveals where these check buttons are.

Deleting a Single Employee from an Employee Page

  1. Navigate to Human Resources > Employees

A screenshot that depicts the Employee menu location. The screenshot is annotated with two red boxes to show that the user must click on "Human Resources" and then "Employees"

  1. Open the desired employee item. (Find the employee item by either scrolling through the list or using the search bar)

A screenshot that depicts how to find a desired employee item quickly. The user can type the name of the employee into the search bar and press the return key.

  1. Press the Delete button

A screenshot that depicts how to delete an employee. Selecting an item, or opening an employee item, will reveal a red "Delete" button with an icon of a trash can. This button will allow you to delete an employee.